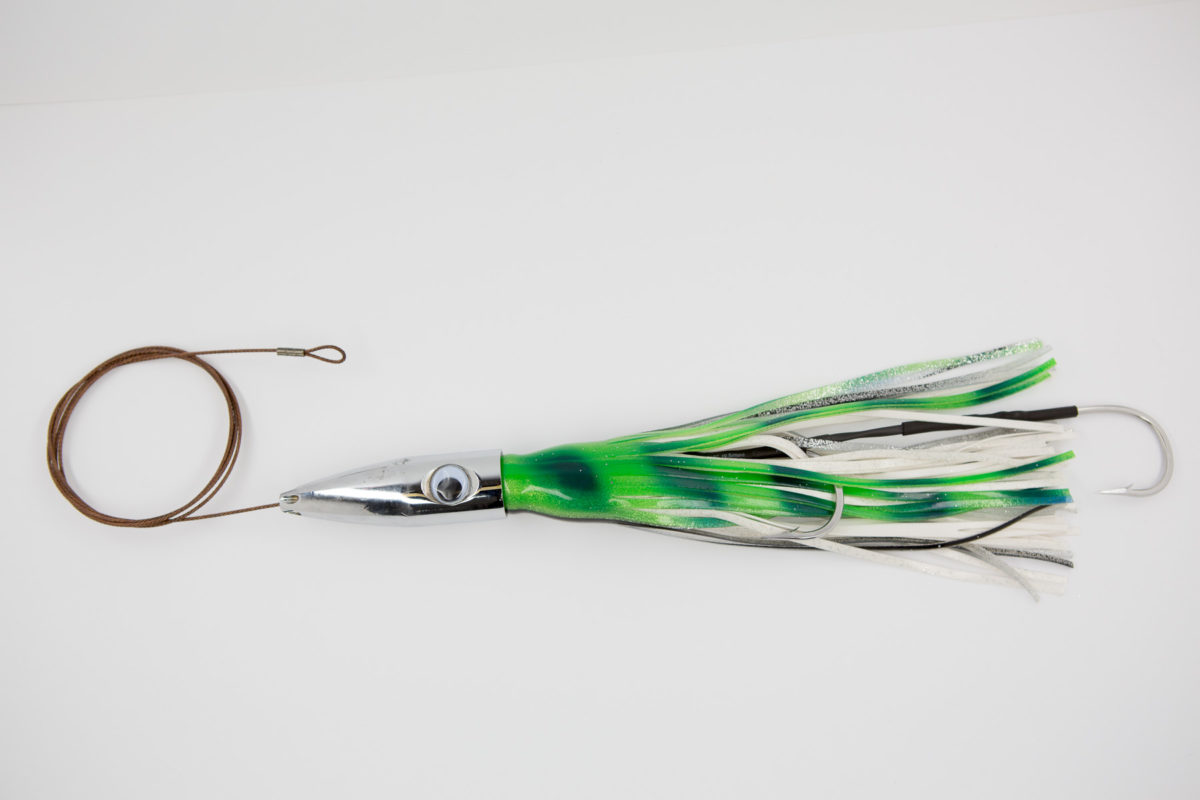
Easy Steps for a Great High Speed Wahoo Lure
Here at The Angry Seas we predominately high speed troll for our Wahoo bites. One of the most exciting forms of fishing is also one of the most devastating to your tackle. With some high-speed lures approaching $100 (rigged), the benefits of creating your own will be apparent after a season of trolling. This hook set is for big lures with skirts in the 12”+ range (Mr. Bigs, Wahoo Whacker XL’s, etc.) This hook set can be used for a smaller wahoo lure, scale the hooks down a bit and close the gap between the hooks a bit. Don’t be afraid to experiment, after all, it’s part of the fun of rigging your own wahoo lure.
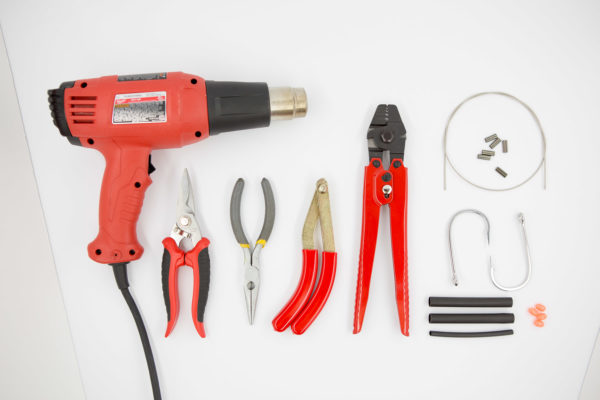
Things you will need to build your favorite high speed trolling wahoo lure:
- 5’ 600 lb 49 strand Stainless Steel cable
- (6) 2.0mm copper crimps
- 3/8 adhesive lined shrink tubing
- 3/16 adhesive lined shrink tubing
- (2) 10/0 Mustad 7732-ss hooks
- Spacer beads
- Cable snips
- Crimping tool
- Mono Cutters
- Needle Nose Pliers
- Heat gun
- Vice or Clamp
Using the Cable Snips cut a 20” length of your 49 strand Cable. You want nice clean cuts and try to limit fraying as much as possible.
Slide on two of the 2.0mm Copper crimps.
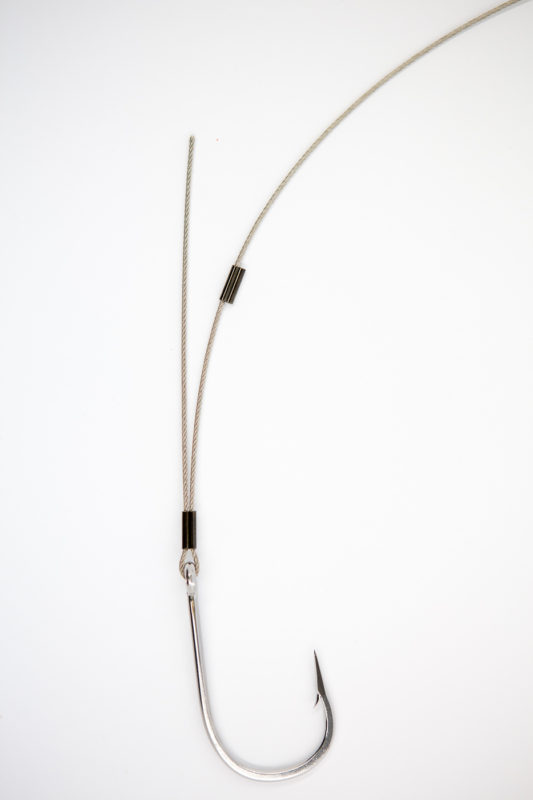
Find the appropriate gap in your crimper and crimp the entire length of the crimp with good solid force.
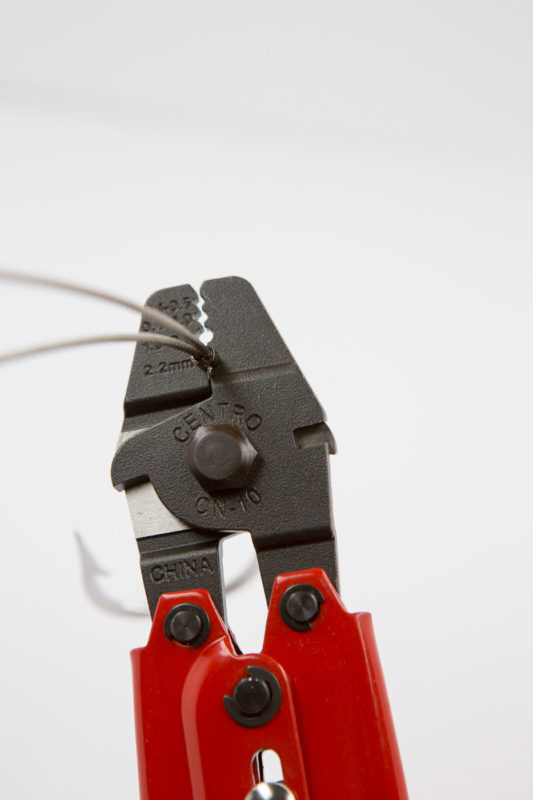
Thread the tag end through the second crimp and twist it around the main wire 1- 2 times and crimp the tag end. This will provide the rig with some added stiffness as well as double crimping the trailing hook.
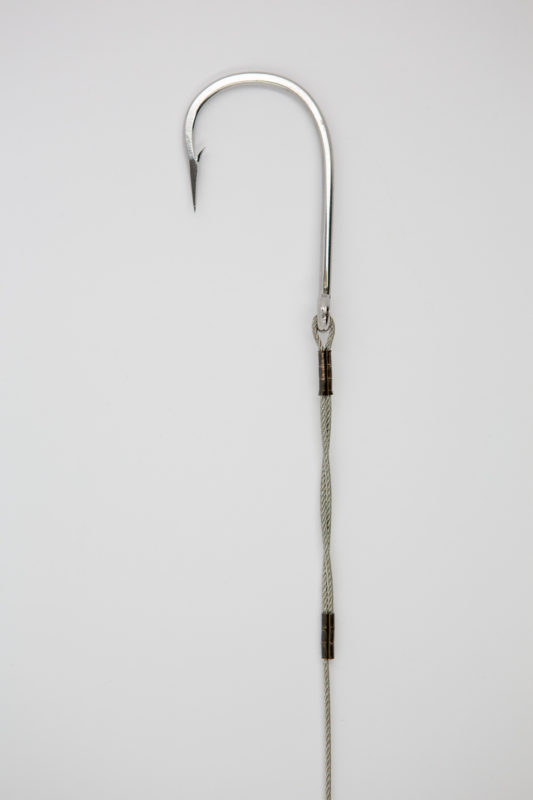
Slide your 3.5” length 3/16” Adhesive lined shrink tubing over the crimp and twist and heat into place.
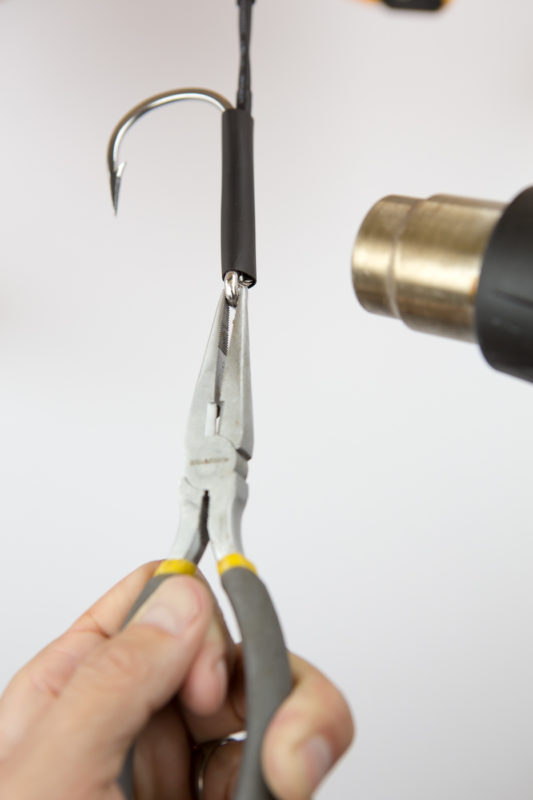
Allow your first shrink to cool, then overlap your shrink and crimped loop with 3.5” of 3/8 adhesive lined shrink tubing stopping right below the hook point. Put the hook into the vice or clamp and hold the cable in your left hand. Holding the rig as straight as possible heat the 3/8 shrink and let cool continuing to hold straight.
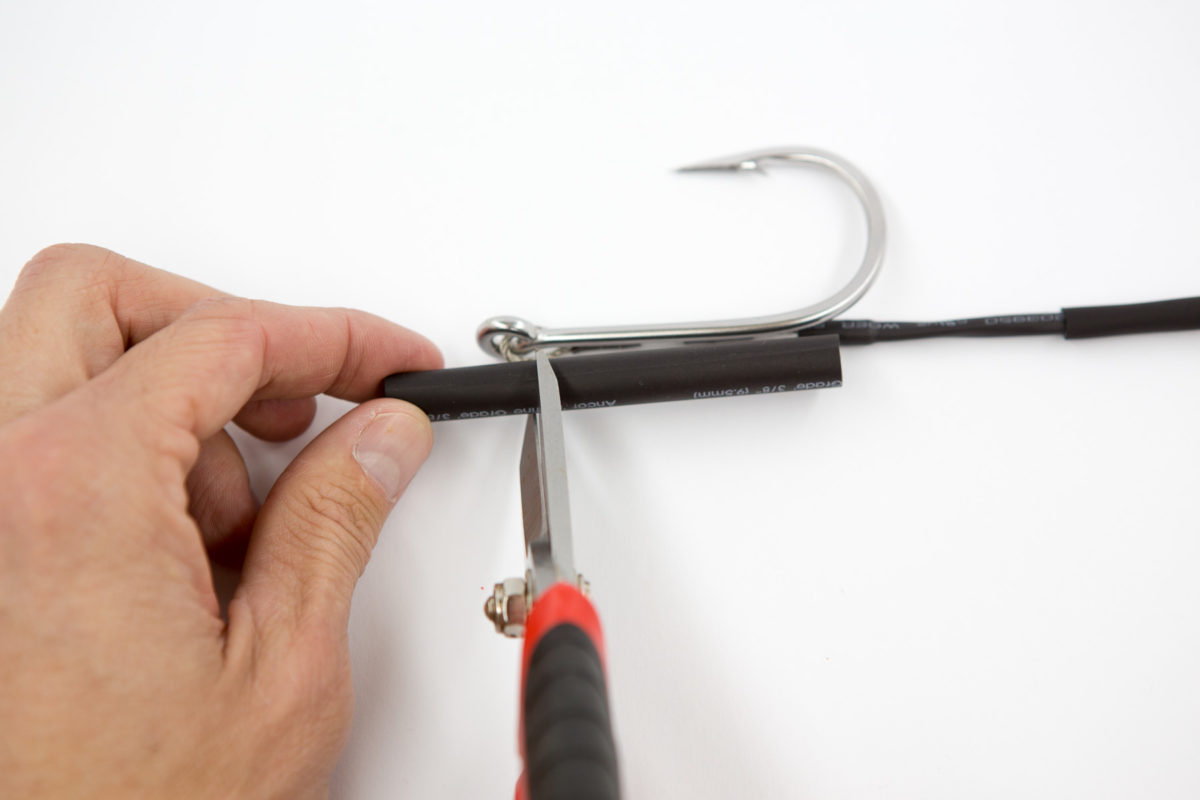
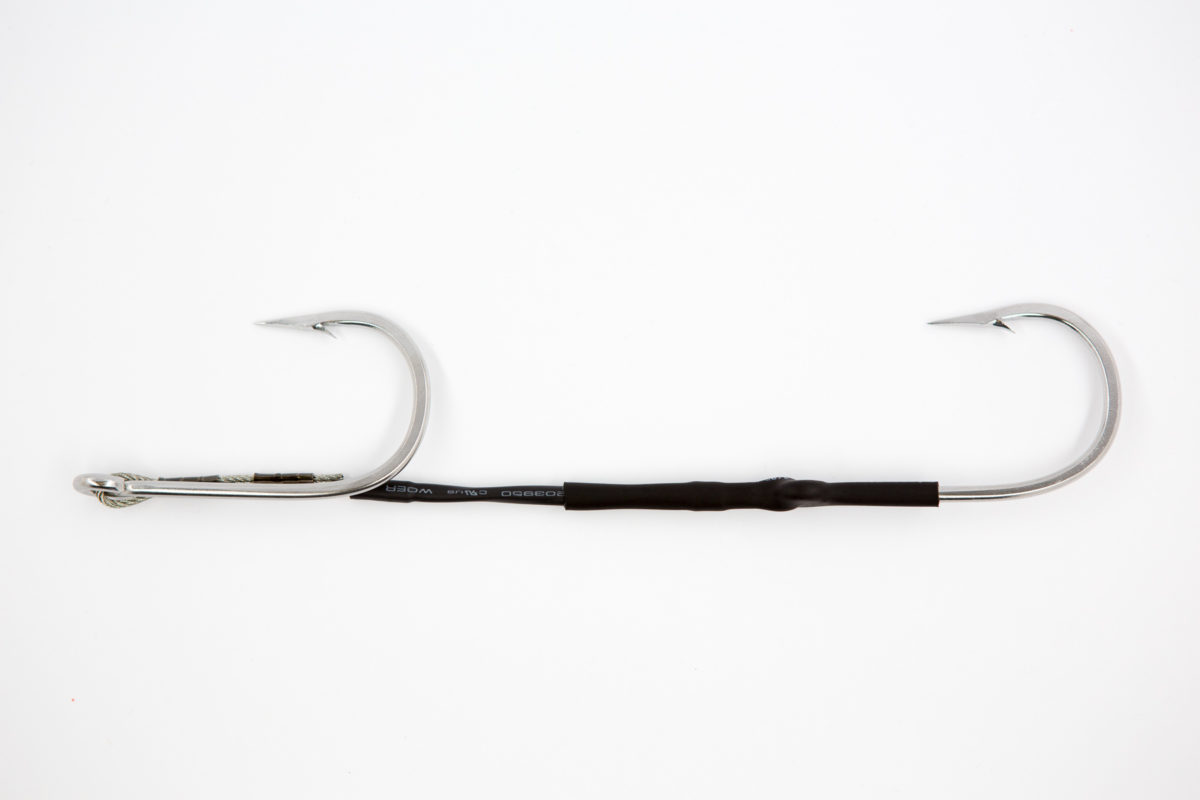
Slide two more crimps on the cable and thread the cable through the eye of the second hook.
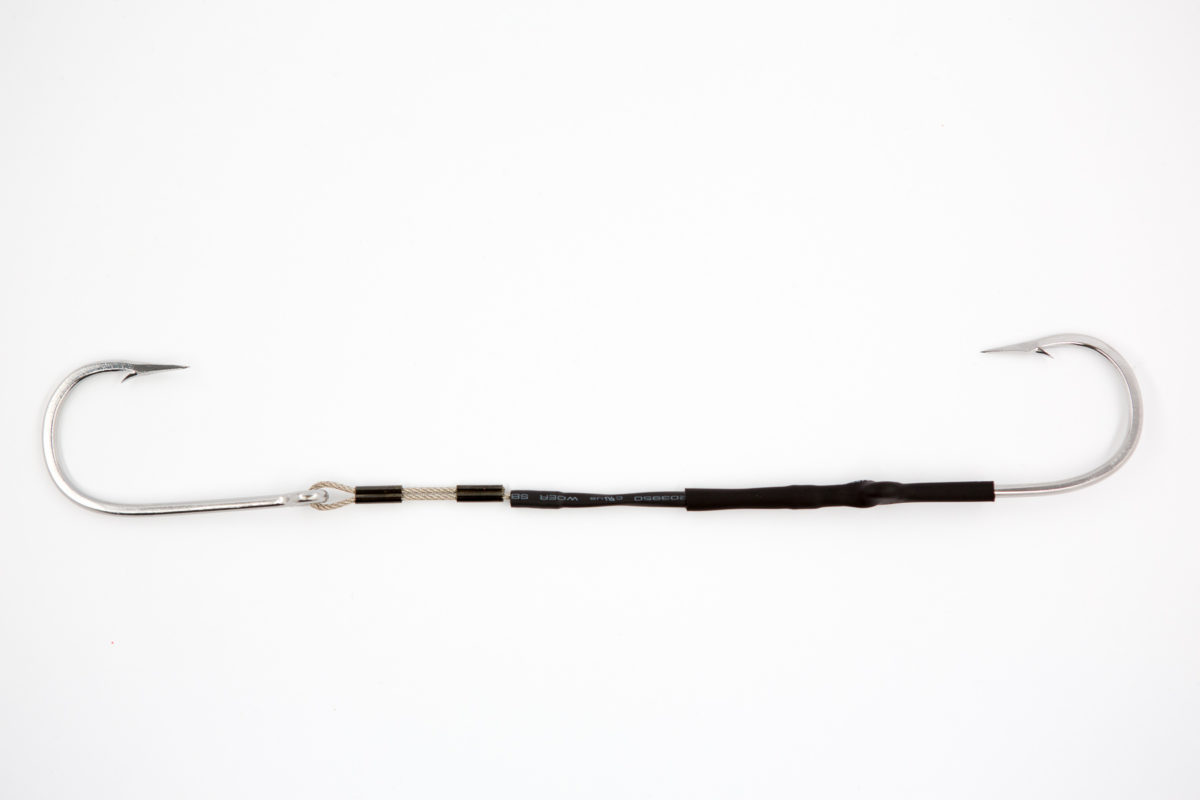
You want the cable to lay along side the hook with the back of the hook just protruding over the heat shrink of the wahoo lure
Compress the first crimp allowing just enough play to keep both hooks straight and inline. This will help the Lures track better as it produces a keel effect in the water.
If needed trim the tag end and secure the second crimp
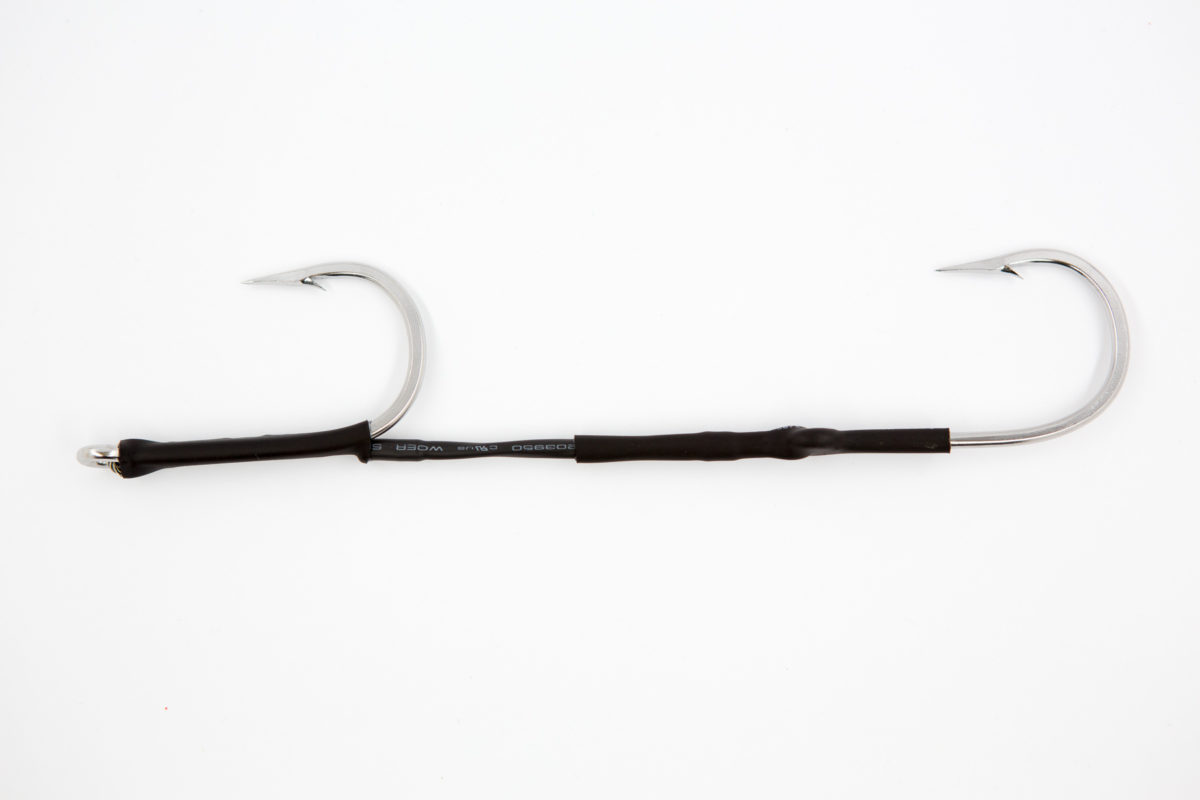
Measure a length of 3/8 heat shrink from the eye of the hook to the back of the hook. Trim and carefully slide over the cable and hook. A bit of saliva might be needed to help the heat shrink slip over the eye of the hook.

Put the back hook in the clamp and hold the eye of the front hook with needle nose pliers making sure to keep the hooks as straight and aligned as possible. Heat the remaining heat shrink and allow to cool holding the hooks absolutely straight. I have a man fridge in my shop that i put the hook set in to cool. I lay it on the bottom shelf to harden and set up while keeping it absolutely straight.
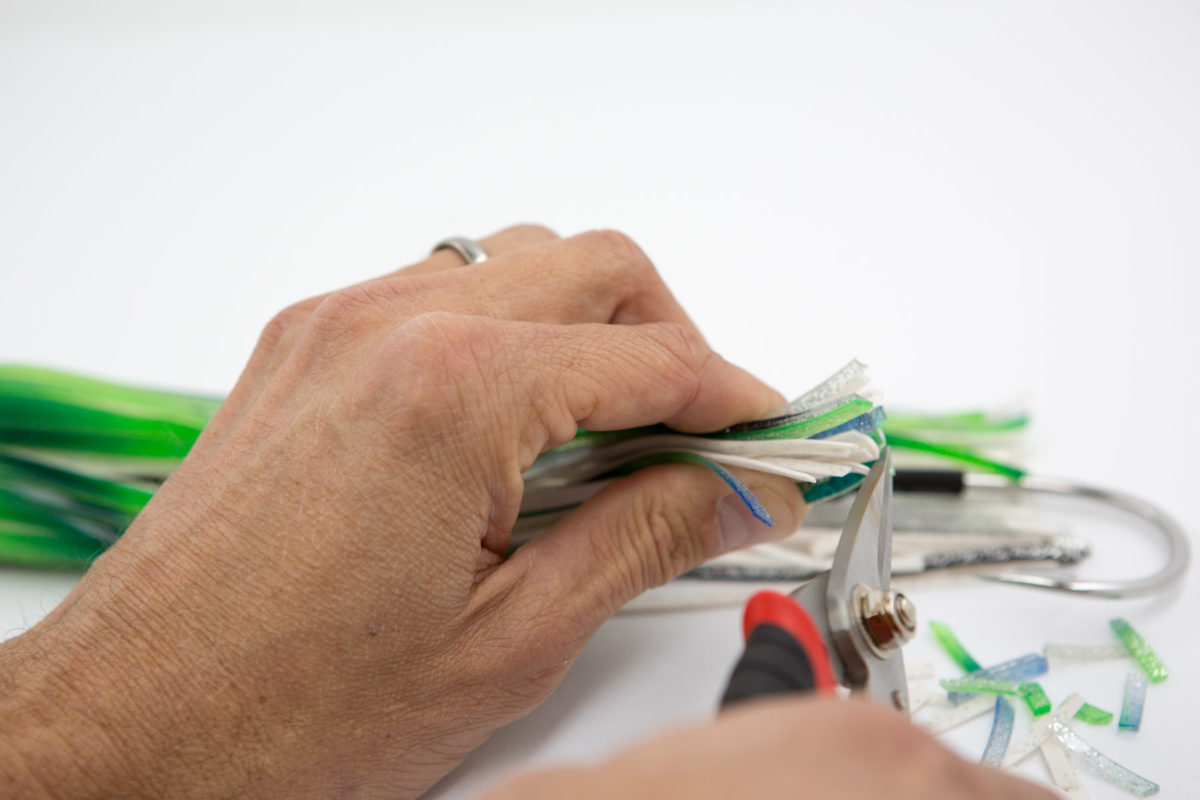
Take the remaining cable and crimp one end through your completed hook set. Slide your wahoo lure over and measure the distance between the point of the hook and the end of the skirt. Our lures usually require 3-4 beads to be the proper distance when the skirt is trimmed. Note: All replacement skirts should be trimmed a bit to prevent tangling.
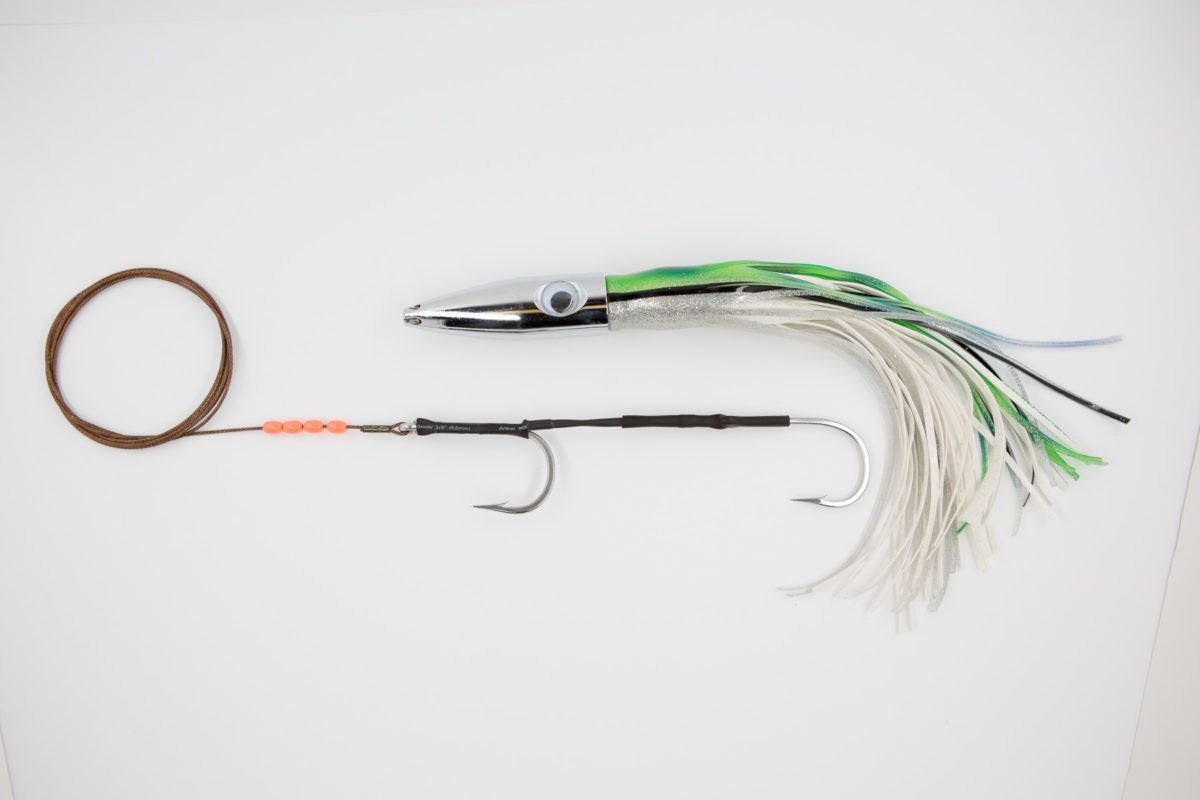
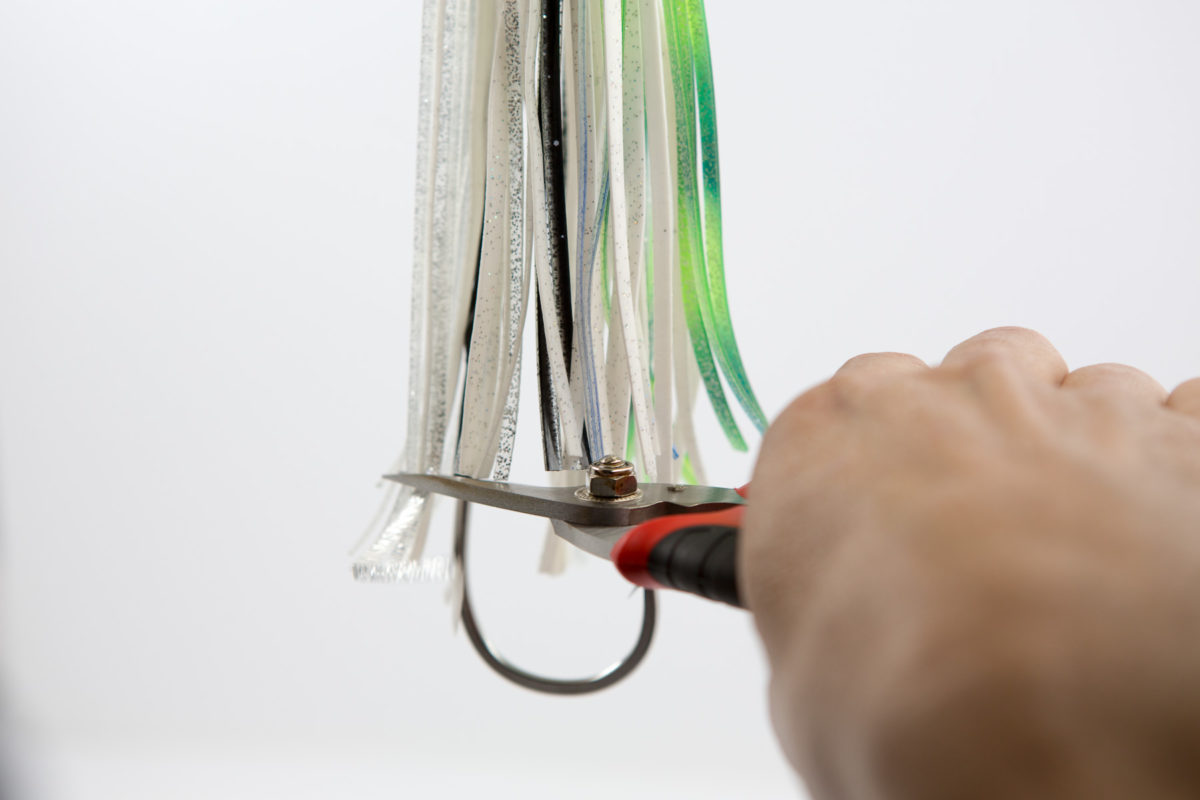
Once the amount of beads needed is determined you can heat shrink the beads to the hook set or you can let them float free between the lure and hook set. We heat shrink them but you don’t have to.
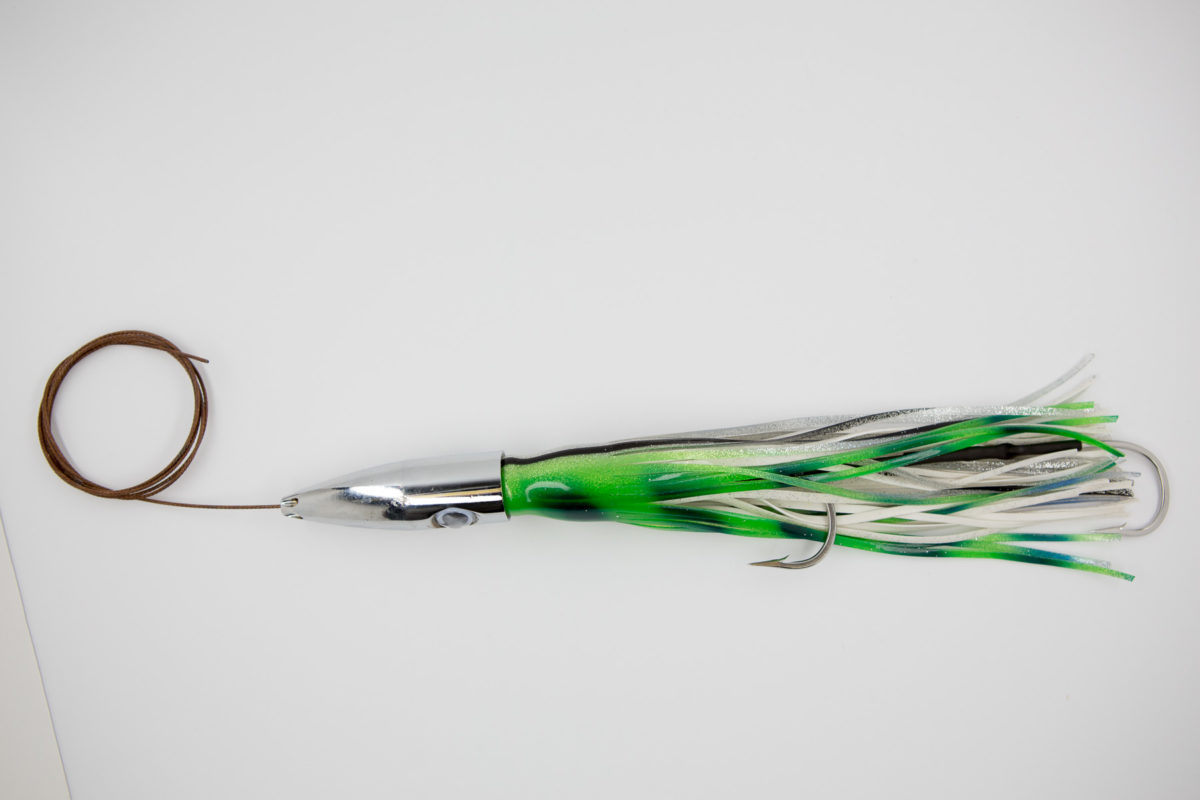
Finally after installing your spacer beads, slide the lure over the beads and the hook set and crimp the remaining tag end. That’s all there is to it, hash tag us on Instagram when you catch your next sashimi dinner and check out our recipe for Sesame Seared Wahoo with a Charred Pineapple Chutney.
#theangryseas
